
Achieving a salon-quality manicure at home might seem daunting, but with the right tools, techniques, and a bit of patience, you can get beautiful, professional-looking nails without stepping out of your door. This comprehensive guide will walk you through each step to help you create a flawless manicure from the comfort of your home.

1. Gather Your Tools
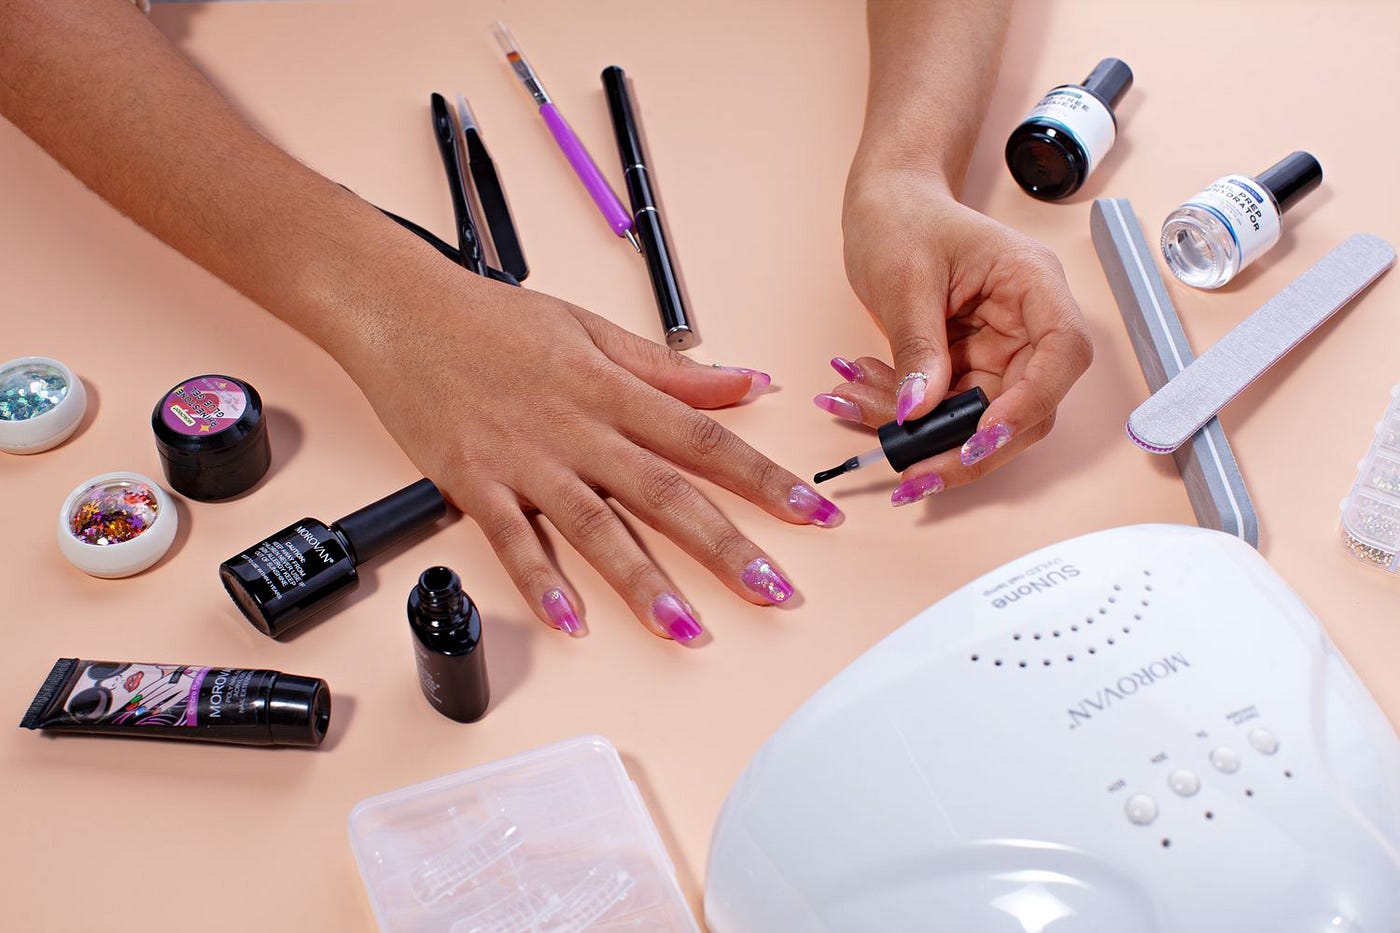
Before you begin, make sure you have all the necessary tools and products. Here’s a list of essentials:
- Nail polish remover
- Cotton pads or balls
- Nail clippers
- Nail file
- Cuticle pusher or orange stick
- Cuticle remover
- Buffer
- Base coat
- Nail polish
- Top coat
- Hand lotion
- Cuticle oil
2. Prepare Your Nails
Remove Old Polish
Start by removing any old nail polish. Use a good-quality nail polish remover and cotton pads. If you have glitter polish or gel, you might need an acetone-based remover. Soak the cotton pad in the remover, place it on your nail, and let it sit for a few seconds before wiping away the polish.
Clip and File
Once your nails are polish-free, trim them to your desired length using nail clippers. Then, use a nail file to shape your nails. The most popular shapes are square, round, and squoval (a combination of square and oval). Always file in one direction to prevent splitting.
Soak and Soften
Soak your hands in a bowl of warm, soapy water for about five minutes. This softens your cuticles and makes them easier to push back. You can also add a few drops of essential oil for a more spa-like experience.


Push Back Cuticles
After soaking, gently push back your cuticles using a cuticle pusher or an orange stick. Be careful not to push too hard to avoid damaging your nail bed. If you have excess cuticle skin, you can use a cuticle remover or cuticle trimmer, but be cautious with these tools to prevent injury.
Buff Your Nails
Use a nail buffer to gently buff the surface of your nails. This helps to remove ridges and creates a smooth surface for the polish to adhere to. Be gentle and avoid over-buffing, as this can weaken your nails.
3. Moisturize and Prep
Moisturize Your Hands
Massage a generous amount of hand lotion into your hands and cuticles. This not only hydrates your skin but also makes your hands feel soft and pampered. After moisturizing, make sure to wash your hands or wipe your nails with a bit of nail polish remover to remove any excess oils that could prevent the polish from adhering properly.
Apply Cuticle Oil
Apply cuticle oil to your cuticles and gently massage it in. Cuticle oil helps to nourish and strengthen your nails, promoting healthy growth.
4. Apply the Polish
Base Coat
Start with a base coat to protect your nails and provide a smooth surface for the polish. A base coat helps prevent staining and extends the life of your manicure. Apply a thin, even layer and let it dry completely.
Color Coat
Now, it’s time for the color! Apply your chosen nail polish in thin, even layers. Start with a stroke down the center of the nail, then one on each side. It's better to apply multiple thin coats rather than one thick coat to avoid streaks and bubbles. Allow each layer to dry completely before applying the next one. Typically, two coats of polish will give you an opaque finish.
Top Coat
Finish with a top coat to seal in the color and add shine. A good top coat also helps protect your manicure from chipping and extends its longevity. Apply the top coat in thin, even strokes, covering the entire nail and extending slightly over the tips to seal the edges.

5. Clean Up
Fix Mistakes
No matter how careful you are, sometimes polish can end up on your skin. Use a small brush or a cotton swab dipped in nail polish remover to clean up any mistakes around the edges of your nails. Be precise to avoid removing the polish from your nails.
6. Final Touches
Let Your Nails Dry
Allow your nails to dry completely. This can take anywhere from 10 minutes to an hour, depending on the thickness of the layers. Avoid using your hands for any tasks during this time to prevent smudging. For faster drying, you can use a quick-dry spray or drops, or even submerge your nails in ice water for a few minutes.
Moisturize Again
After your nails are completely dry, apply another layer of cuticle oil to keep your cuticles hydrated. Follow up with a rich hand cream to keep your hands soft and smooth.
7. Maintenance Tips
Avoid Harsh Chemicals
Harsh chemicals in cleaning products can damage your manicure. Wear gloves when doing household chores to protect your nails.
Be Gentle
Treat your nails gently to prevent chipping. Avoid using them as tools to open packages or scratch off labels.
Regular Touch-Ups
Keep your nails looking fresh by doing regular touch-ups. Apply a new layer of top coat every few days to maintain the shine and protect your polish.
Moisturize Daily
Keep your hands and cuticles moisturized daily to promote healthy nails and extend the life of your manicure.
Reapply Cuticle Oil
Use cuticle oil regularly to keep your cuticles soft and prevent them from drying out and cracking.
Troubleshooting Common Issues
Bubbles in Polish
If you notice bubbles in your polish, it might be due to shaking the bottle. Instead, roll the bottle between your hands to mix the polish. Also, ensure each layer is completely dry before applying the next one.
Streaky Polish
Streaks can occur if the polish is too thick or if the brush is not fully loaded. Apply thin layers and make sure the brush has enough polish on it.
Chipping
To prevent chipping, make sure to seal the edges of your nails with the top coat. Avoid using your nails as tools and apply a new top coat every few days.
Conclusion
Creating a salon-quality manicure at home is not only achievable but also a rewarding self-care activity. With the right tools, products, and techniques, you can have beautiful, professional-looking nails without leaving your home. Practice makes perfect, so don’t get discouraged if your first attempts aren’t flawless. Enjoy the process, experiment with different colors and designs, and soon you’ll be able to give yourself a stunning manicure that rivals any salon’s work. Happy polishing!


0 Comments