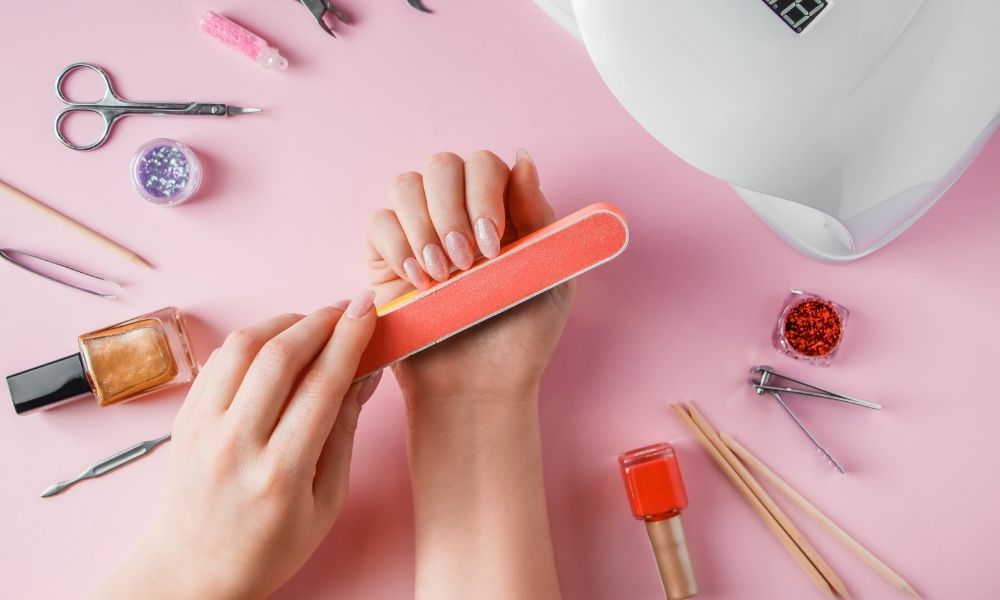
In our fast-paced lives, self-care often takes a back seat, but one aspect that should not be overlooked is nail care. Proper nail care not only enhances the appearance of your hands but also contributes to overall nail health. With the right tools, you can achieve salon-quality results at home. This guide will walk you through the essential tools for at-home nail care, helping you maintain beautiful and healthy nails without stepping out of your house.
1. Nail Clippers
Importance:
Nail clippers are the foundation of any nail care kit. They help in maintaining the length and shape of your nails, preventing them from breaking or splitting.
Types:
- Standard Nail Clippers: Suitable for everyday use, designed for fingernails and toenails.
- Toenail Clippers: Larger and more robust, designed to cut through thicker toenails.
- Guillotine Clippers: Provide a different cutting angle, which some find easier to use for precision.
How to Use:
- Ensure the clippers are clean and sharp.
- Clip nails straight across to avoid ingrown nails.
- Use multiple small cuts rather than one large clip to prevent splitting.
2. Nail File and Emery Board
Importance:
Nail files smooth out the edges of your nails after trimming, preventing snags and breaks. Emery boards are a type of nail file made of cardboard and have two sides of differing grit.
Types:
- Metal Files: Durable and long-lasting but can be harsh on nails.
- Glass/Ceramic Files: Gentle on nails and can be sanitized easily.
- Emery Boards: Portable and disposable, suitable for on-the-go touch-ups.
How to Use:
- File in one direction to prevent weakening the nail.
- Use the coarse side for shaping and the finer side for smoothing.
3. Cuticle Pusher and Cuticle Nipper
Importance:
Cuticle care is crucial for nail health and appearance. Cuticle pushers help in gently pushing back the cuticles, while cuticle nippers trim away the excess skin.
Types:
- Wooden Pushers: Disposable and gentle on nails.
- Metal Pushers: Durable and can be sanitized, often come with dual ends for pushing and cleaning under nails.
- Cuticle Nippers: Sharp, small clippers specifically designed for trimming cuticles.
How to Use:
- Soak your hands in warm water to soften the cuticles.
- Gently push back the cuticles with the pusher.
- Trim the excess cuticle skin with the nippers, being careful not to cut too close.
4. Nail Buffer
Importance:
Nail buffers smooth and polish the surface of your nails, giving them a natural shine and a healthy look.
Types:
- 3-Way Buffers: Combine filing, smoothing, and shining surfaces.
- 4-Way Buffers: Include additional steps for extra shine and smoothness.
How to Use:
- Use each side of the buffer according to its purpose, starting from the coarsest to the finest.
- Buffing should be done gently to avoid thinning the nail.
5. Base Coat and Top Coat
Importance:
Base coats protect your nails from staining and provide a smooth surface for nail polish application. Top coats seal in the polish, adding shine and preventing chipping.
Types:
- Strengthening Base Coats: Contain ingredients to fortify weak nails.
- Ridge-Filling Base Coats: Smooth out nail imperfections.
- Quick-Dry Top Coats: Speed up drying time and add a glossy finish.
- Matte Top Coats: Provide a non-shiny finish.
How to Use:
- Apply a thin layer of base coat before nail polish.
- Finish with a top coat to seal the color and add durability.
6. Nail Polish Remover
Importance:
Removing old nail polish is essential before applying a new color or treating your nails.
Types:
- Acetone Remover: Highly effective but can be drying to nails and skin.
- Non-Acetone Remover: Gentler on nails and skin but may take longer to remove polish.
- Nourishing Removers: Infused with vitamins and oils to condition nails.
How to Use:
- Soak a cotton pad with remover and press it on the nail for a few seconds before wiping away.
- Avoid scrubbing harshly to prevent damaging the nail surface.
7. Nail Brush
Importance:
A nail brush helps in cleaning the nails and the surrounding skin, removing dirt and debris.
Types:
- Standard Nail Brushes: Usually have stiff bristles for thorough cleaning.
- Soft-Bristle Brushes: Gentler and suitable for sensitive skin.
How to Use:
- Wet the brush and your nails.
- Gently scrub under and around the nails.
8. Moisturizing Hand Cream and Cuticle Oil
Importance:
Hydration is key to maintaining healthy nails and cuticles. Hand creams keep the skin soft, while cuticle oils nourish and strengthen the nail bed.
Types:
- Hand Creams: Look for those containing ingredients like shea butter, glycerin, and natural oils.
- Cuticle Oils: Often contain jojoba oil, vitamin E, and other nourishing oils.
How to Use:
- Apply hand cream regularly, especially after washing your hands.
- Massage cuticle oil into the base of each nail and the surrounding skin daily.
9. Nail Art Tools (Optional)
Importance:
For those who enjoy creative expression, nail art tools can help in achieving intricate designs and patterns.
Types:
- Dotting Tools: Create dots and other small details.
- Striping Brushes: Perfect for fine lines and stripes.
- Stencils and Stickers: Offer easy ways to add designs without freehand drawing.
How to Use:
- Use dotting tools and brushes with your chosen nail polish colors.
- Apply stencils or stickers as directed, finishing with a top coat to seal.
10. UV/LED Lamp (For Gel Nails)
Importance:
If you prefer gel nails, a UV or LED lamp is essential for curing the gel polish, ensuring it hardens and adheres properly.
Types:
- UV Lamps: Compatible with all types of gel polish but take longer to cure.
- LED Lamps: Faster curing time but may not work with all gel polishes.
How to Use:
- Follow the instructions provided with your gel polish for curing times.
- Always wear protective gloves to minimize UV exposure to your skin.


0 Comments